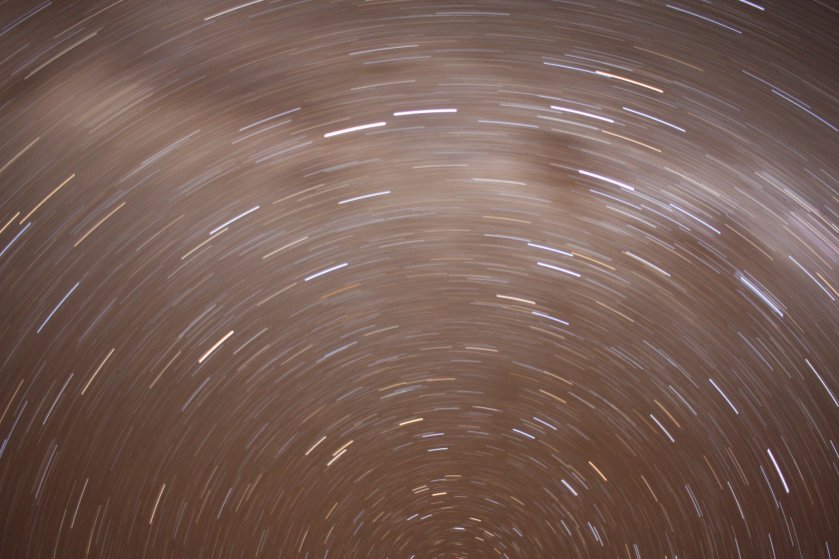
Ok, so it has been gray and rainy here in the Brew City, so in honor of unclear skies in the city, I’m going to talk a bit about astrophotography! Last summer, I had an opportunity to go work for a week or two on a construction project in the middle of the Western Australian Outback, many many miles from anything resembling civilization. I took the opportunity to try my hand at astrophotography (see my first post for my favorite long exposure of the sky from that excursion). After taking photos of star trails and the blurry haze that is the Milky Way by leaving my trusty XSi’s shutter open for 30 minutes, and being amazed with the photo I took, I wanted to take a stationary photo of the stars. With a stationary tripod, a 30 second exposure is enough for the star trails to show up on your image. Enter the tracking mount.
Commercial tracking mounts are available (they’re generally designed for telescopes, but the technology is exactly the same, so it will certainly work!), but are rather pricey. Here are a couple from B&H for around $300:
I’m a student, so I would rather spend my money on beer and more everyday use photo gear than a $300 mount. I’ve got a fair bit of experience with fabrication and rapid prototyping and such, and so I started to design a rudimentary 3D printed tracking mount. In my experience with fabrication and design, I’ve learned not to reinvent the wheel, so my first step was to run off to Thingiverse, where I found this: http://www.thingiverse.com/thing:1133193
It’s not perfect, but it does get the job done. For around $30 in parts (not including the 3D printed components, but through a few connections, that was virtually free), I built this barn door tracker. In order to use this tracker, you mount your camera on the top platen (preferably with a ball head, so that you can actually aim your camera), point the hinge at your Celestial Pole (the North Star in the Northern Hemisphere, and the Southern Cross in the Southern Hemisphere), start the tracking, and open your aperature, then open your shutter (if you have mirror lockup, use it, any shake will be noticeable).
I’ve built and tested on the bench, but I’ll post up some sample images when I have a chance to take some time out in the wilderness with clear skies. I’ll also post a build log of this tracker, including some errata from the Thingiverse page.
PS: Forgive the garbage featured photo, it was taken with my phone and it was roughly 15 degrees outside. (It was also before I got my second ball mount).